Co-Written by Andreas Hubert
This is part 1 of a series of articles. For other parts, see the introductory article.
Prerequisites
You’ll need a few things handy before you can continue:
-
Git branching basics. Learn Git Branching is a great resource!
-
Python >= 2.7.8 && < 3.0.0. NOTE: Ansible works with Python 3.0+ and you might be able to get the code samples in this article to work on it but I haven’t tried it yet.
-
Pip
- The following Python libraries:
- paramiko
- PyYAML
- Jinja2
- httplib2
- six
- nose
- Basic testing knowledge including mocking. If you’re not too familiar with mocking, you can still follow along but I encourage you to read up on it after you’re done here as it will help make your unit tests more robust.
Prep Your Ansible Repo
If you haven’t already done so, fork the Ansible repo to a GitHub account or organization you have access to. Afterwards, clone your fork recursively so that it will also fetch associated git submodules:
$ git clone [email protected]:<your-github-account>/ansible.git --recursive
Next, add the upstream Ansible repo as ‘upstream’
$ cd ansible
$ git remote add upstream https://github.com/ansible/ansible
After this, you now should have two remotes with ‘origin’ pointing to your Github fork of the repo, and ‘upstream’ pointing to the upstream repo. You won’t be able to push upstream but you can fetch from it and then create pull requests which is how it should be.
$ git remote -v
origin  [email protected]:<your-github-account>/ansible.git (fetch)
origin  [email protected]:<your-github-account>/ansible.git (push)
upstream        https://github.com/ansible/ansible (fetch)
upstream        https://github.com/ansible/ansible (push)
I’m going to refer to your local clone as your ansible repo from now on.
Sidebar: Add a Few Git Aliases to Your Toolkit!
You don’t have to do this but if you want to follow along with my
git commands, I’ll be using these below so feel free to add them to
your ~/.gitconfig under the aliases section:
[alias]
fa = fetch --all
t = log --graph --pretty=oneline --abbrev-commit --decorate --color
ta = log --graph --pretty=oneline --abbrev-commit --decorate --color --all
With these, you’ll gain the following git commands:
git fa- Fetch (but don’t merge) the latest from all remotesgit t- See the history of the current branch laid out in a treegit ta- See the history of the entire repo laid out in a treeadd
Prepare Your Environment For Local Development
While at the root dir of your ansible repo, run the following:
$ source hacking/env-setup
This will prepare your current terminal session and prepend the current
ansible repo to your $PATH. Running ansible --version should get you
something similar to this:
ansible 2.4.0 (devel f43cab9395) last updated 2017/05/29 13:25:52 (GMT +200)
  config file =
  configured module search path = [u'/Users/youruser/.ansible/plugins/modules', u'/usr/share/ansible/plugins/modules']
  ansible python module location = <path to your local ansible repo>/lib/ansible
  executable location = <path to your local ansible repo>/bin/ansible
  python version = 2.7.13 (default, Apr  4 2017, 08:47:57)
Provided you didn’t have any shims messing up your path, running
which ansible should now show the <path to your local ansible repo>/bin/ansible.
If not, you probably have some crazy shim-y stuff going on. Fix that before proceeding.
If you want to make this permanent, add the following to your ~/.bash_profile or
~/.bashrc:
source <path to ansible repo>/hacking/env-setup
SIDEBAR: Keep Your Sanity. Use vim + tmux!
…well, if you’re already familiar with these tools, that is.
To avoid having to cd up and down as I work on my modules, I use test.vim with vim and split my tmux windows into the following panes:
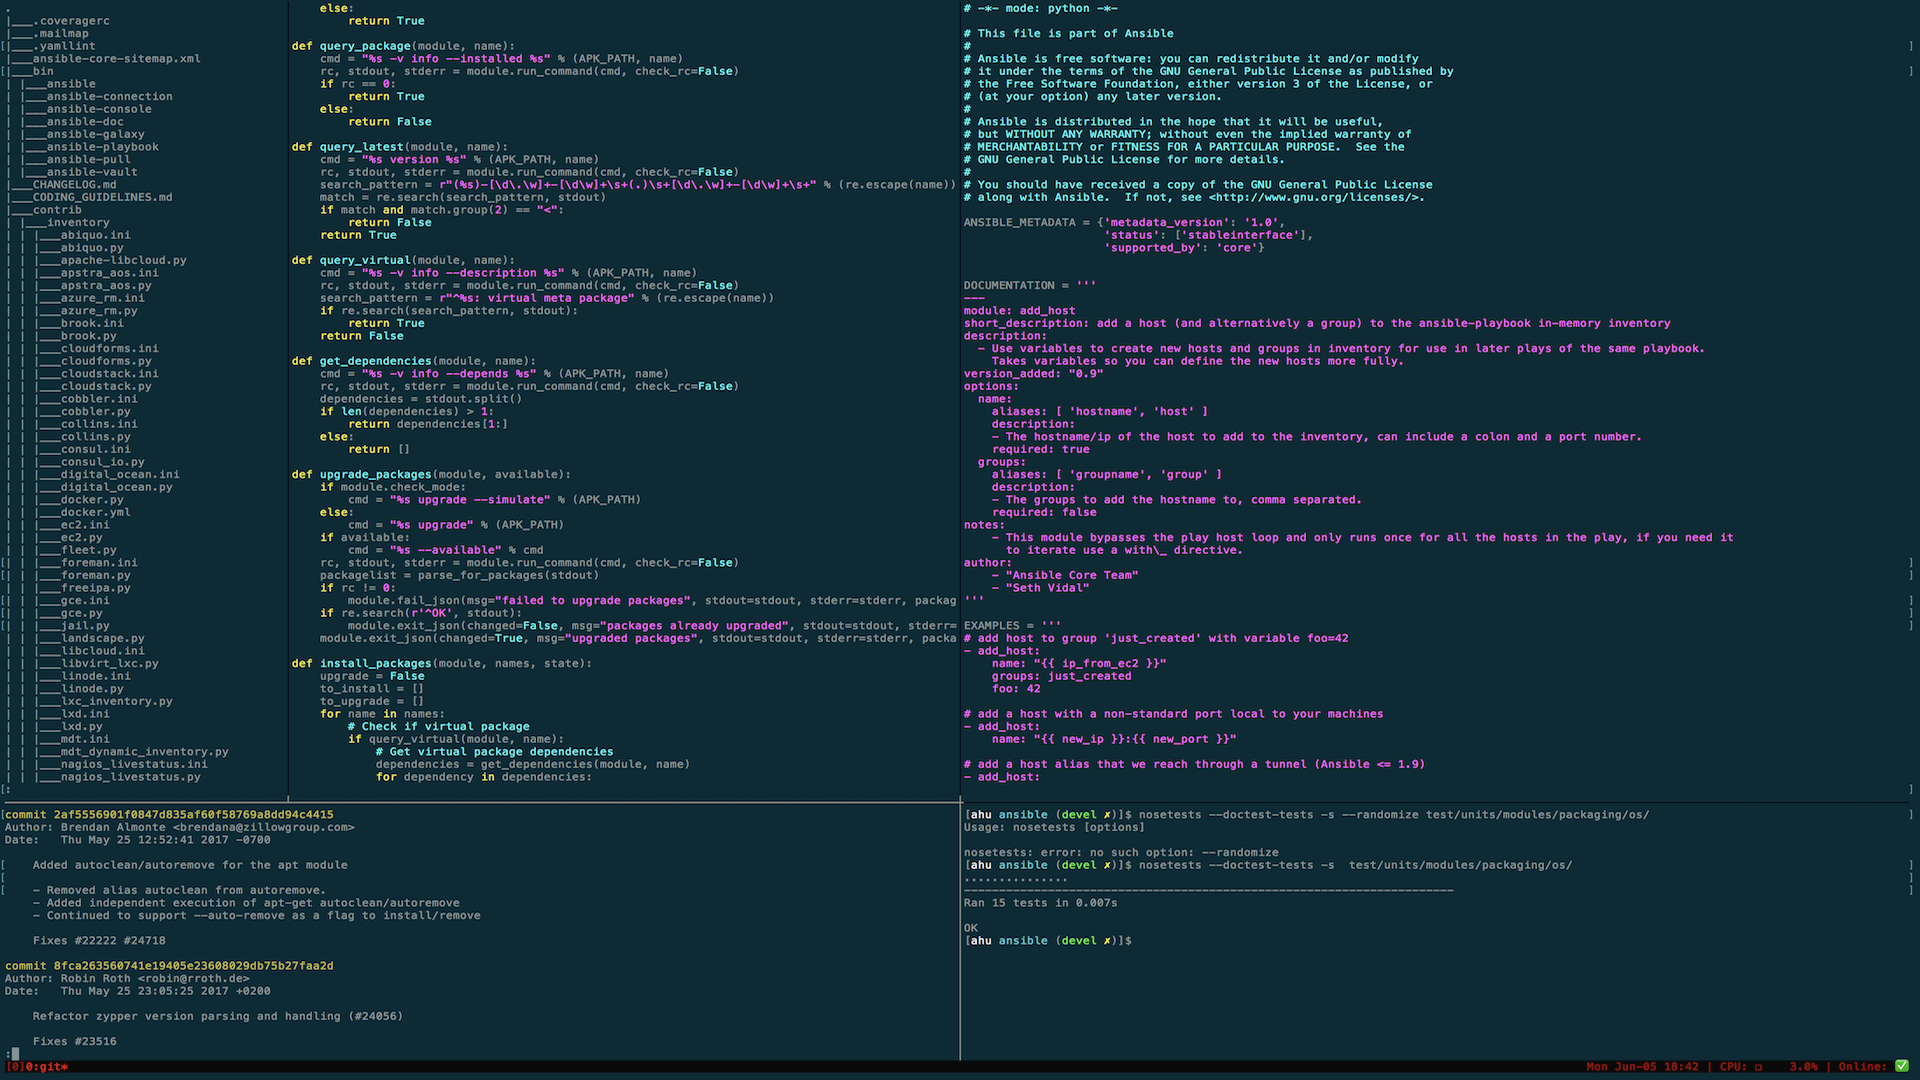
- The top pane is dedicated to Vim
- Lower left pane is my local ansible repo
- Lower right pane is for running my tests which I can quickly initiate
from Vim thanks to test.vim by pressing
,s(run nearest test),,t(run all tests in current file), and,a(run all tests)
I have my dotfiles project here. Yes I still need to convert it to an Ansible playbook!
Try The Ansible Module Validator (Linter)
It’s like Flake8 for Ansible. From your ansible repo, run it with:
$ test/sanity/validate-modules/validate-modules lib/ansible/modules/cloud/amazon
It shouldn’t output anything since the amazon modules are compliant. We will see it in a fouler mood later when we write a sample module. If you wan’t to know more about it, here’s its README.
You’re Ready to Start Developing!
Good job! Take a breather, then head on over to part 2 to create your very first Ansible module. Alternatively, you can go back to the the introduction if you want to jump ahead to other parts.